Original Sash Glass: When Careful Removal Matters
Original Sash Glass: When Careful Removal Matters is a question of preserving what can be kept, and removing only what cannot be safely retained. Before you disturb glazing putty or glazing points, assess the pane, the timber sash and the reason for the work.
Key Takeaways
- Keep sound original glass in place where possible: its ripples and uneven reflections can be part of a historic window’s character.
- A crack calls for assessment, not automatic replacement. A conservation professional can advise whether repair is suitable.
- Check the sash, joints, rebate and putty before treating the job as glass-only reglazing.
- Use eye protection, cut-resistant gloves and a stable, padded place for the pane. Take particular care with suspected lead paint and old glazing materials.
- Photograph and label each pane before removal, and plan how to support and carry it before freeing the glass.
- If timber damage or poor operation extends beyond the pane, our Full Sash Window Restoration service addresses the sash as well as the glazing.
- Draughts, rattles or decay affecting the original frame are addressed by our Restoration and Repair service, which preserves authentic frames.
Decide Whether the Original Glass Needs to Come Out
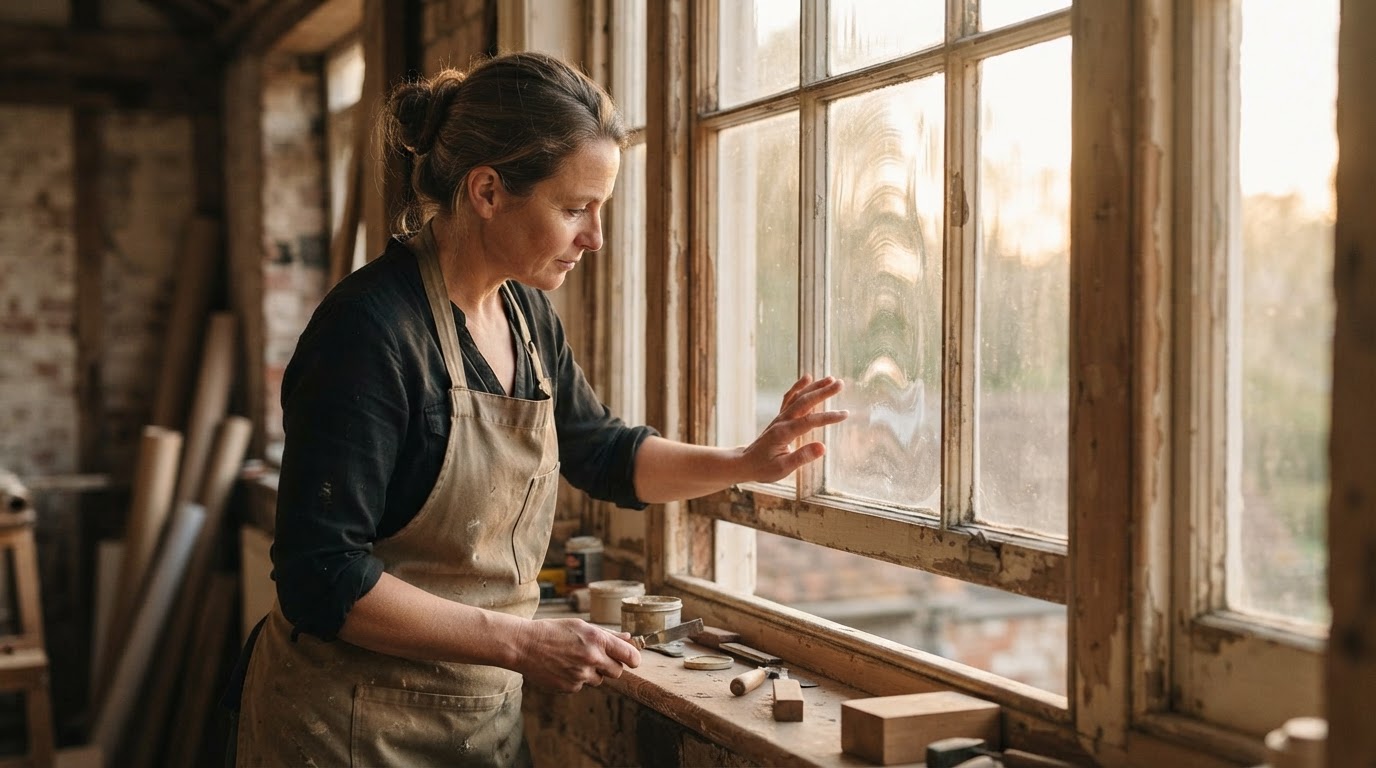
Keep sound original sash glass in place wherever practical. Older panes often have subtle waviness, bubbles or variations in reflection that give a period window its distinctive appearance, and modern flat glass may not reproduce that character.
A crack or local defect is a reason to assess the pane, not an instruction to replace it. A conservation professional can judge whether a repair is appropriate, taking account of the damage, the pane’s significance and whether it can remain safely supported.
Replace a pane when its condition makes safe retention impractical. If replacement is needed, look for salvaged glass with a comparable size, tint and visual texture; a close match helps the repaired opening sit naturally beside the other panes, especially in a divided-light window.
Careful removal of original sash glass supports repair rather than wholesale renewal. English Heritage notes that many historic components continue to give service after 150, 200 or even 250 years.
Inspect the Sash and Glazing Before Starting
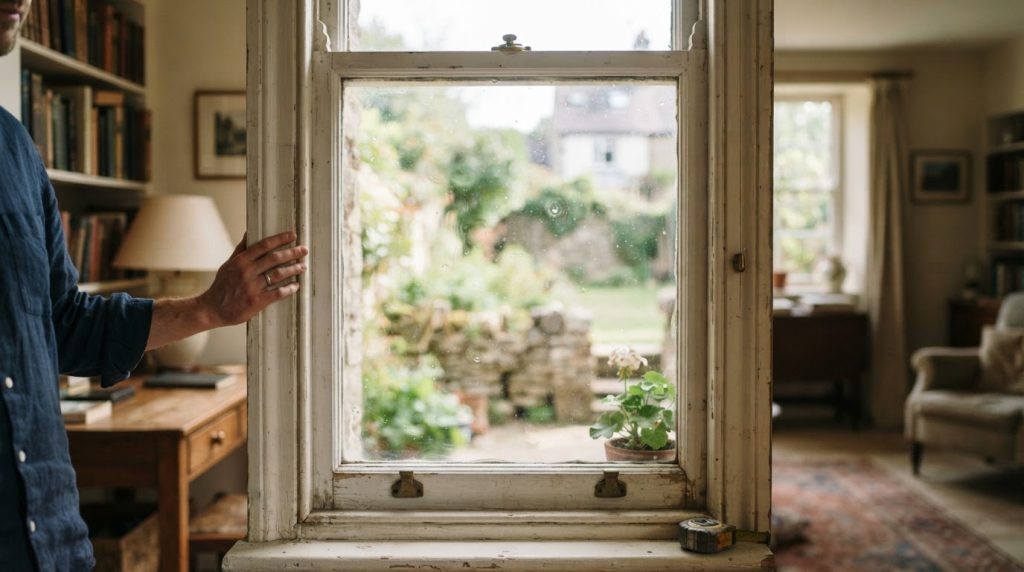
First examine the rails, stiles, joints and glazing rebate. The rebate is the recessed edge of the sash that holds the glass; soft or rotten timber, loose joints or distortion can split when you work putty or glazing points free.
Check whether the putty is cracked, loose or firmly bonded, and look for visible glazing points, the small metal fixings that hold the pane in position. Firm putty combined with brittle glass calls for especially measured work, because the pane may break under pressure before the putty releases.
A sound sash with tight joints may need glass-only reglazing. If the sash is decayed, badly distorted or loose at its joints, address those faults before treating the work as a simple sash window glass replacement.
Timber damage alongside glazing can call for the Full Sash Window Restoration service, which carefully restores existing sash windows, repairing or replacing damaged sections of timber, renewing putty and ensuring each sash operates correctly. This is relevant when the window needs traditional joinery and operational repairs as well as attention to the pane.
We specialise in Victorian sash windows across Cheshire, offering bespoke solutions for heritage homes. Assessing the whole window helps protect its period character during restoration.
Prepare Tools, Protection and a Safe Work Area
Prepare eye protection, cut-resistant gloves, a suitable putty knife or glazing tool, pliers for glazing points and a stable, padded surface for the pane. Have a secure route to that resting place ready before removal begins, rather than carrying fragile glass through an unprepared work area.
Older painted timber may contain lead paint. Avoid dry sanding and uncontrolled scraping; contain dust and debris, use appropriate lead-safe protection and cleanup, and bring in a specialist if you cannot control the work safely.
Keep children, pets and other people away from the work zone. Plan how you will collect broken glass, old putty and paint debris without spreading fragments or dust, and dispose of contaminated material safely.
Do not force stubborn putty or use uncontrolled heat to hurry the job. Force can crack the pane or damage the sash, while poorly controlled heat can create additional hazards around old paint and timber.
The conservation-area statistic that follows is historical context cited by English Heritage, not a current measure of risk for an individual window.
Did You Know?
In 2009, unsympathetic replacement of windows and doors represented the number one threat and affected no less than 83% of conservation areas.
Source: English Heritage
Decide Whether to Remove the Sash or Work in Place
If you can reach the glazing rebate safely and hold the sash steady, working in place may avoid unnecessary disturbance to the whole window. Do not choose this method if the sash moves under pressure or the pane cannot be supported throughout the work.
On a double-hung window, identify how each sash is held before releasing it. The lower sash is commonly retained by staff beads; once it is safely removed, the parting beads separate the upper sash from the lower one. Sash cords and weights can carry the sash’s load, so keep the sash supported and secure the cords if they are detached.
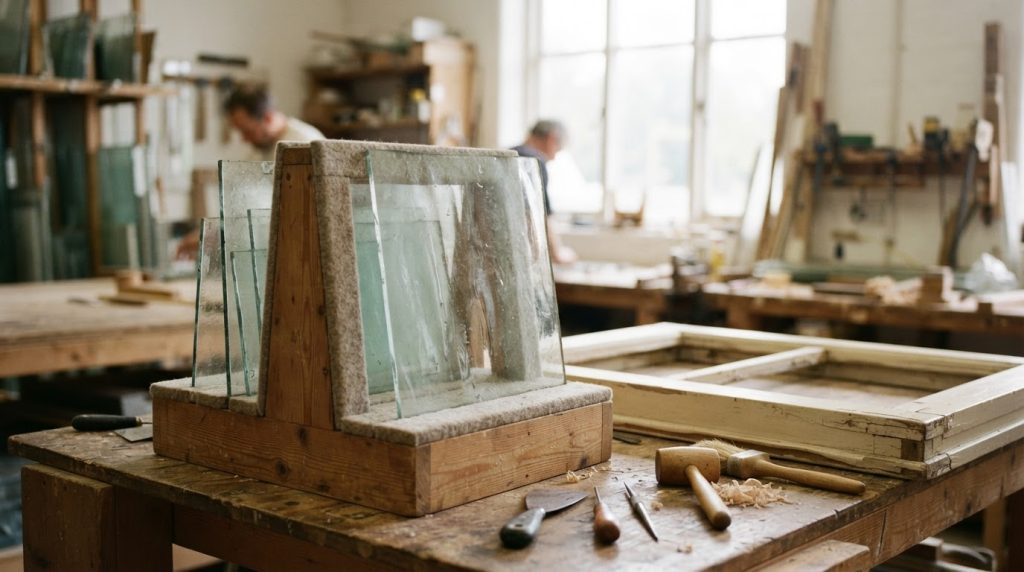
Before removing any original pane, mark its position and orientation, then photograph the arrangement. These records help return each pane to its proper opening and direction, which matters when neighbouring panes have different waves, tints or surface marks.
Large or unstable glass needs additional support, often from a second person. Decide in advance how the pane will move from the sash to a padded, secure resting place, and keep its edges protected during the transfer.
Loosen the Putty and Glazing Points Before Freeing the Pane
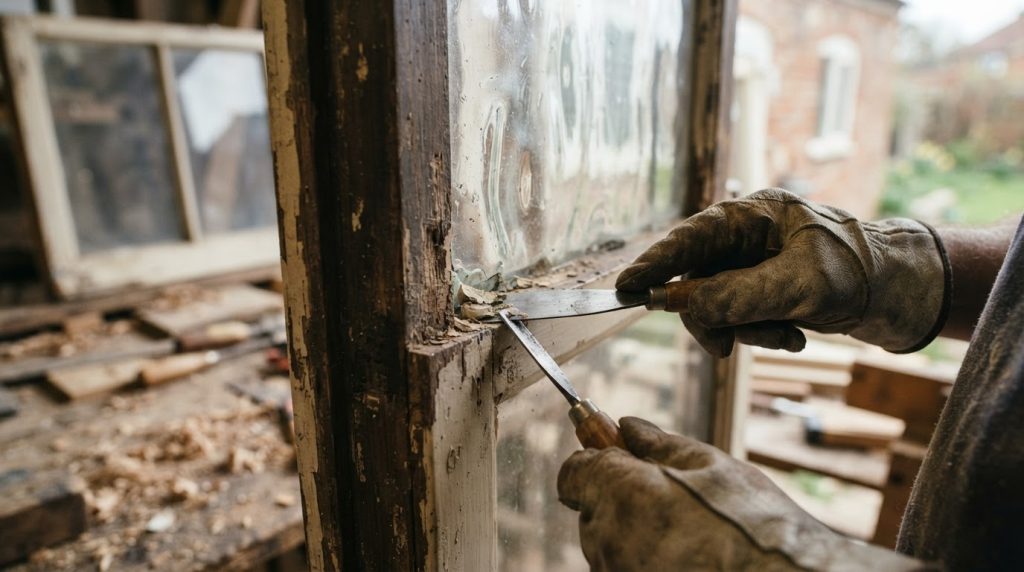
Support the glass continuously as you work. Loosen putty progressively around the edges with a suitable tool, and never lever against unsupported glass or force a blade between the pane and the timber.
For putty that remains firm, first check that the paint is confirmed lead-free. Score the paint-and-putty boundary carefully, then warm a short section of putty gently with a low-heat tool intended for glazing, keeping it moving and warming the putty rather than the glass. Pare away softened putty in thin layers with the blade held almost parallel to the pane; work along the rebate instead of levering outward. Do not use an open flame or high heat. If lead paint is suspected, the pane starts to flex, or the putty remains hard, stop and ask a restoration professional to assess it.
Remove the glazing points only when enough putty has been cleared to reach them. Use pliers or an appropriate glazing tool to lift or draw each point out without levering against the glass.
If stubborn putty will not release without force, stop. A fragile pane, brittle sash or tightly bonded glazing is a reason to hand the work to a window-restoration professional rather than risk damage to the glass or historic frame.
For broken glass, keep the sash supported and remove fragments cautiously in a controlled manner. Do not pull out a large, unstable piece; secure it and work carefully to reduce the chance of sudden breakage and falling shards.
Prepare the Rebate and Choose Glass That Suits the Window
After the pane is out, remove loose putty and remaining glazing points carefully. Inspect the rebate for damaged timber, obstructions and areas that need repair before reglazing, since a clean, sound seating edge helps the new pane sit evenly.
Record the opening dimensions and compare any salvaged glass for size, tint and waviness. A pane that looks close on its own can stand out beside neighbouring glass, so assess the match in the window rather than judging only from a loose sample.
Try architectural salvage or reclamation yards, and ask specialist glaziers who handle heritage work; availability varies, so bring the opening dimensions and, if practical, a photo of neighbouring panes. Compare samples beside the existing glass in daylight and from inside the room. Check tint, waviness, bubbles, surface marks and the way reflections distort, rather than matching colour alone. Inspect the edges for chips or cracks, and ask whether the piece has enough sound material to cut to size. A sample that matches in one light but looks markedly different from another angle may still stand out once installed.
A specialist glazier or restoration professional can help source salvaged glass that suits the opening. Careful removal of original sash glass makes this comparison possible, while keeping the original pane available for repair or refitting where its condition allows.
Our Restoration and Repair service restores original sash windows, addressing draughts, rattles and decay while preserving authentic frames.
Consider the sash’s weight and movement when selecting replacement glass. A pane with a different thickness or weight can affect sash balance, so include how the window opens, closes and stays in position in the reglazing assessment.
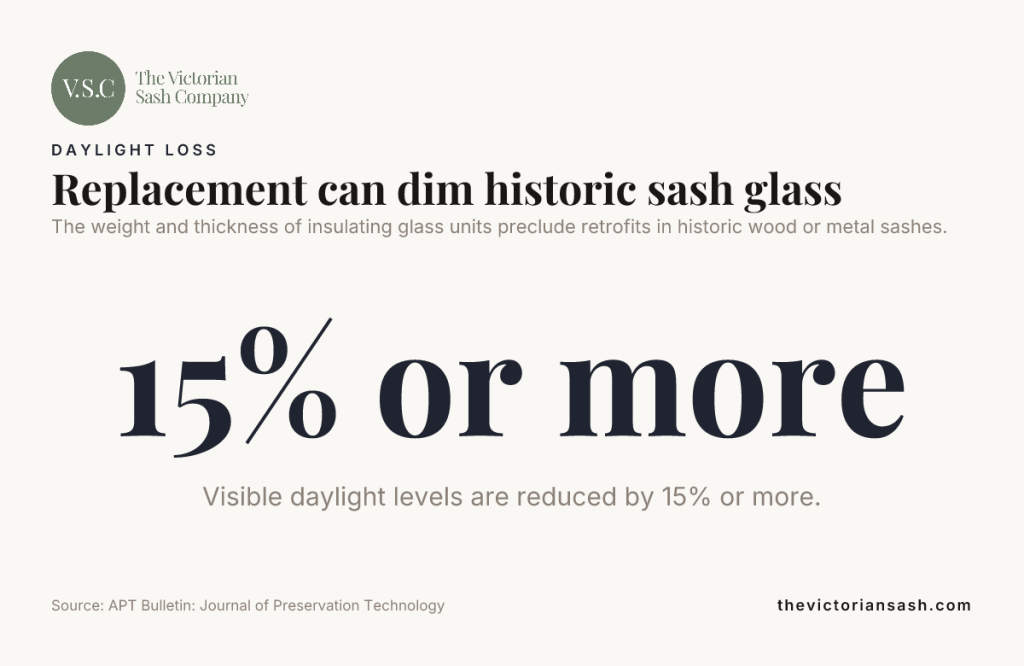
The weight and thickness of insulating glass units preclude retrofits in historic wood or metal sashes.
Source: APT Bulletin: Journal of Preservation Technology
Did You Know?
Windows are generally presumed to account for 10–20% of the heat loss from buildings.
Source: English Heritage
The heat-loss range above is a broad building-level estimate, not a prediction for this sash or home; actual performance depends on the whole building and the window’s condition.
Refit the Pane and Check the Sash Operation
Set the pane evenly into the prepared rebate and secure it with glazing points. Place the points firmly enough to hold the glass, but do not drive them into its edge.
Apply glazing putty so it beds and seals the pane, then allow it to cure appropriately before painting or returning the window to service. A well-seated pane and sound putty help protect the glass from movement and weather exposure.
If you removed the sash, reconnect its cords and supports correctly before letting it carry its own weight. Check that it travels smoothly and stays balanced instead of dropping, drifting or binding.
If the sash rattles, binds or will not stay in position after reglazing, reassess the pane’s fit and weight as well as the cords and other sash components. The glass may be only one part of a wider sash mechanism issue.
Frequently Asked Questions
Can salvaged sash glass be cut to fit a different opening?
A glazier can cut salvaged glass when the pane has enough usable material and sound edges. Old glass can fracture unpredictably during cutting, so a close-sized piece is often preferable to removing more material than necessary.
Check the opening in both directions at several points, since an old sash may not be square, and allow a little clearance for the pane to bed in putty rather than forcing a tight fit. Before cutting, have a glazier assess whether the salvaged glass has sound edges and enough usable material. If it is suitable, clean and dry it, mark the cut, secure a straightedge and use a glass cutter suited to the pane. Make a steady, continuous score without retracing it; support the score at the edge of a padded surface and apply even pressure to run the break, using running pliers if appropriate. Wear eye protection and cut-resistant gloves, contain fragments, and leave an irregular or failed cut to a glazier rather than forcing it.
How long should traditional glazing putty cure before it is painted?
Traditional linseed-oil glazing putty is often ready for painting after about 7 to 14 days, once its surface has formed a firm skin. Cool or damp conditions can extend that period.
What affects the cost of removing and reglazing an original sash pane?
The cost depends on pane size and access, how firmly the putty is bonded, the fragility of the glass and whether the sash or rebate needs repair. Lead-safe controls and the availability of a suitably matched replacement pane can also affect the work involved.
How should a removed pane of original glass be stored temporarily?
Store the pane upright with its lower edge resting on padded supports, and lean it slightly against a stable, padded surface. Protect the corners and edges, and keep it separate from other panes so they cannot rub together.
Can a sash window be draught-proofed without removing its original glass?
Yes. Draught-proofing can address gaps where the sash meets the frame and around the meeting rails, so sound original glass can remain undisturbed while the window’s comfort is improved.
Preserve the Glass, Protect the Sash
Original Sash Glass: When Careful Removal Matters is ultimately about making a considered choice: preserve sound historic glass, assess damage before replacing a pane, and prepare the sash and work area before disturbing the glazing. When removal is necessary, steady support, patient putty removal and a careful check of sash balance help protect both the glass and the window.
Our craftsmen combine decades of experience with traditional joinery methods. Crafted for Tradition, Built for Today.
Require Assistance with Repairs?
Contact us now on 01606 333943
Mobile: 07789 598238
Email: info@victoriansash.net