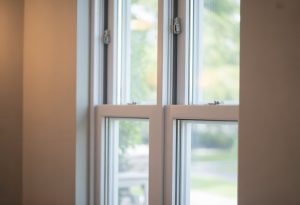
Sash windows bring a classic look to homes and have been a popular architectural choice for hundreds of years. These traditional windows feature panels that slide up and down, offering both style and practical ventilation. Whilst they remain attractive features in many properties, they can experience various problems as they age.
The most frequent issues you might encounter include windows that stick in their frames, unwanted draughts, timber rot, difficulty opening and closing, and condensation between panes. When you spot these problems early, you can often fix them without major expense. Taking care of your sash windows properly helps them work well and keeps your home looking its best for many years.
Recognising Problems with Your Sash Windows
Deterioration of Wooden Frames
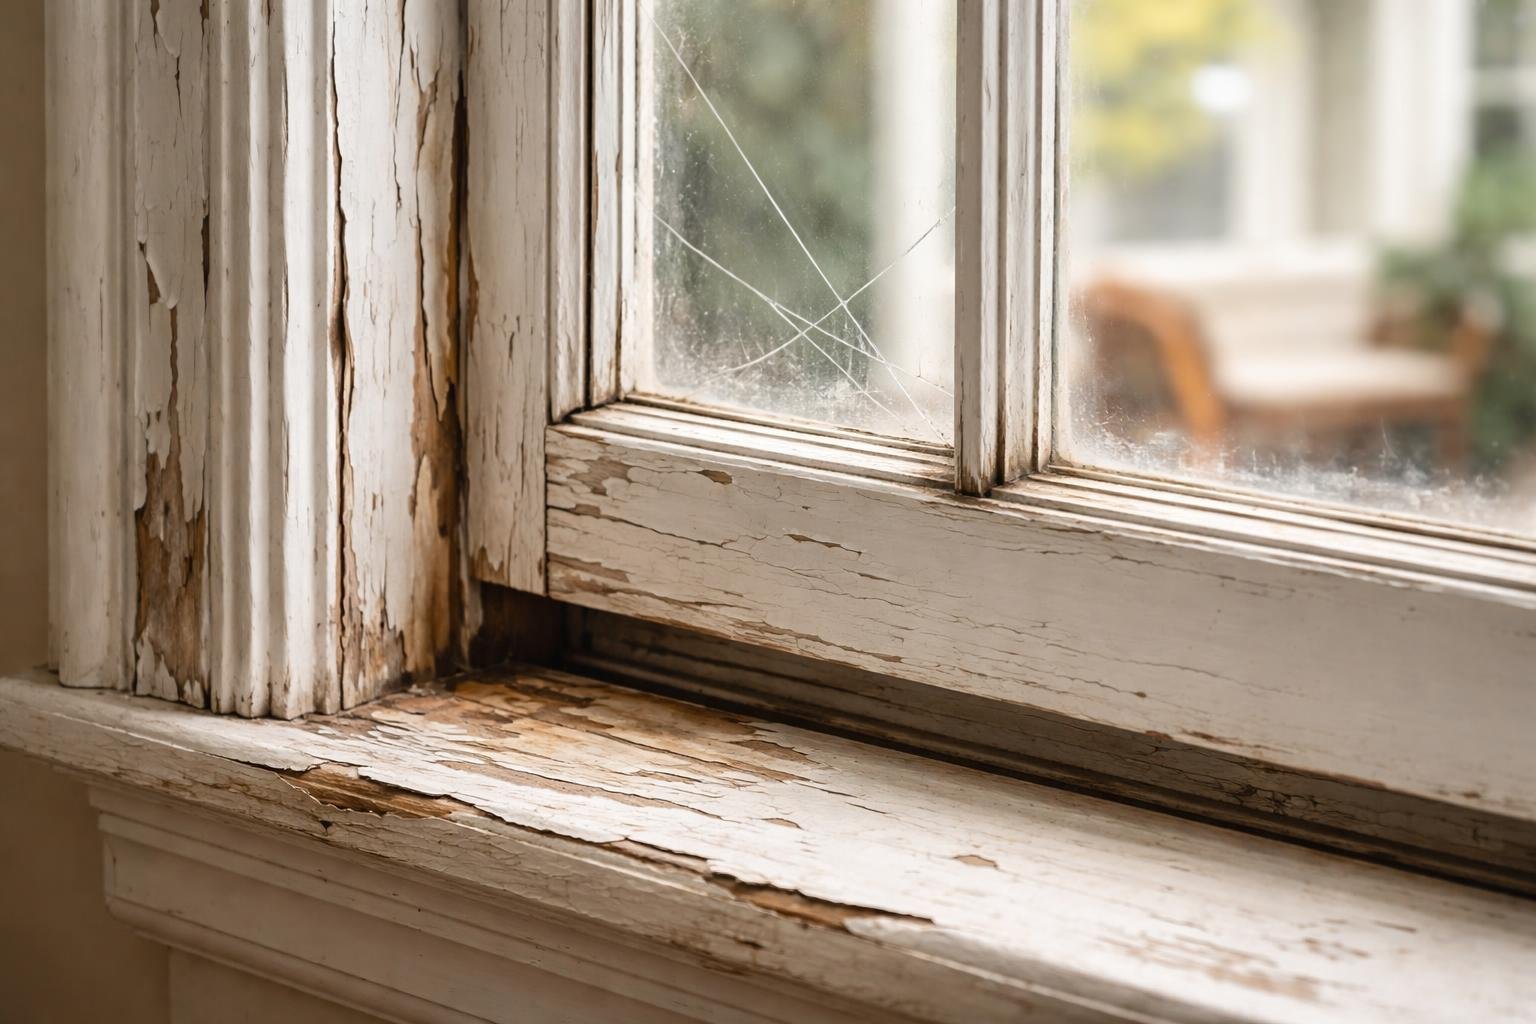
Your timber frames endure constant exposure to weather conditions throughout the year. Sun, rain, and fluctuating temperatures cause the wood to swell and shrink repeatedly. This movement creates gaps where the frame meets the sashes.
You’ll notice paint beginning to flake or crack as the wood beneath it shifts. The exposed timber becomes vulnerable to further damage. Joints may work loose over time, which weakens the overall structure.
Common signs to watch for:
- Splintering or rough surfaces on wooden components
- Visible gaps between frame sections
- Loose or separated joinery
- Peeling paint exposing bare wood
Checking your windows regularly helps you spot these issues before they worsen. Early intervention prevents more extensive repairs later.
Problems with Movement and Operation
Sticking sashes rank amongst the most frustrating issues you’ll encounter. Your sliding sash window should glide smoothly up and down without resistance.
Multiple factors can disrupt this operation. Paint accumulation in the running channels creates friction. Dust and grime build up in the tracks over time. Your wooden sash windows may absorb moisture, causing the timber to expand and bind against the frame.
| Problem | Cause | What You’ll Notice |
|---|---|---|
| Binding | Paint build-up | Resistance when opening |
| Sticking | Dirt in channels | Jerky movement |
| Jamming | Warped timber | Window won’t budge |
| Scraping | Swollen wood | Scratching sounds |
A stuck sash window often requires force to move, which can damage other components. You should be able to operate your windows with minimal effort.
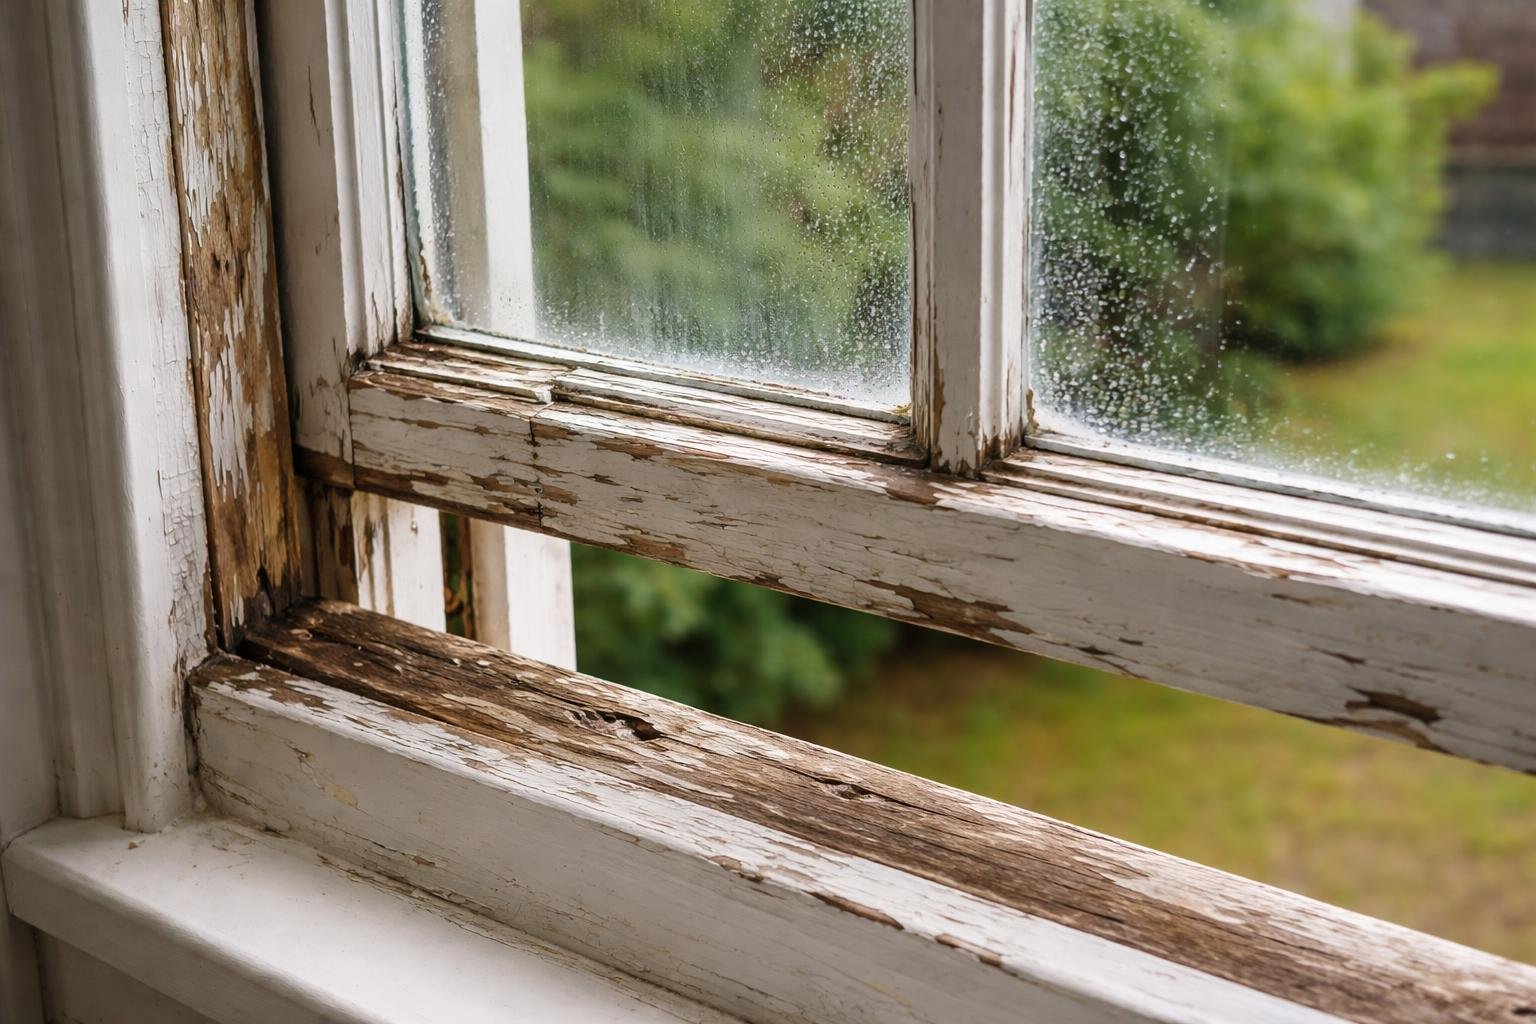
Rot and Water-Related Deterioration
Moisture poses the greatest threat to traditional sash windows. Water penetration leads to rot, which compromises the structural soundness of your frames.
Your bottom rails and corner joints face the highest risk. These areas collect water most readily. Press gently on the wood in these spots. Soft, spongy timber indicates decay beneath the surface.
Watch for these warning signs:
- Dark staining or discolouration
- Musty odours near the window
- Fungal growth appearing as dark patches
- Crumbling or flaking wood
- Cracked or missing glazing putty
The glazing putty creates a waterproof seal around the glass. When it fails, moisture seeps behind it into the timber. This accelerates rot in areas you can’t easily see.
Broken Balance Components
Your sliding sash windows use a system of cords, pulleys, and counterweights for balanced operation. These mechanical parts wear out with repeated use.
The cords bear the most stress. They fray and eventually snap under the constant load. When this happens, your sash loses its balance. It may slam shut unexpectedly or refuse to stay open.
Listen to your windows as you operate them. Squealing or grinding noises suggest the pulleys need attention. The counterweights should move silently within the box frame.
Test whether your sashes hold their position when opened. If they slide down on their own, the balance mechanism has failed. Rattling windows often indicate loose weights or broken cords within the frame.
Draughts and Heat Loss
Gaps around your sashes allow cold air to enter and warm air to escape. This reduces comfort and increases heating costs.
Run your hand around the closed window perimeter. You’ll feel air movement where gaps exist. On bright days, visible daylight through the edges confirms poor sealing.
Indicators of draught problems:
- Curtains moving in still air
- Cold spots near windows
- Whistling sounds in wind
- Rattling during breezy conditions
- Worn or missing weatherstripping
Even single-glazed traditional sash windows should seal properly when closed. Draughty sash windows waste energy regardless of glazing type. Both timber sash windows and upvc sash windows can develop these sealing issues over time.
Maintaining Your Sash Windows for Long-Term Performance
Routine Checks and Prompt Fixes
You need to examine your sash windows regularly to spot early signs of damage. Look carefully for splits in the wood, areas showing decay, or components that have come loose.
Address minor faults immediately. Small repairs now prevent expensive restoration work later.
Keep the channels and mechanisms clean using a soft brush to sweep away accumulated dust and grime. This ensures smooth movement when opening and closing your windows.
Lubricate the channels and pulley systems with silicone spray to minimise resistance. Your windows will operate more easily with this simple step.
Inspect the sash cords for wear and damage. Replace frayed or damaged cords straight away, as reliable cords are essential for safe daily use.
Secure any hardware that has loosened over time. Properly fastened screws and brackets maintain structural integrity and proper function.
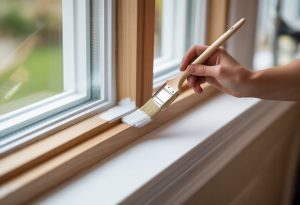
Paint and Protective Treatments
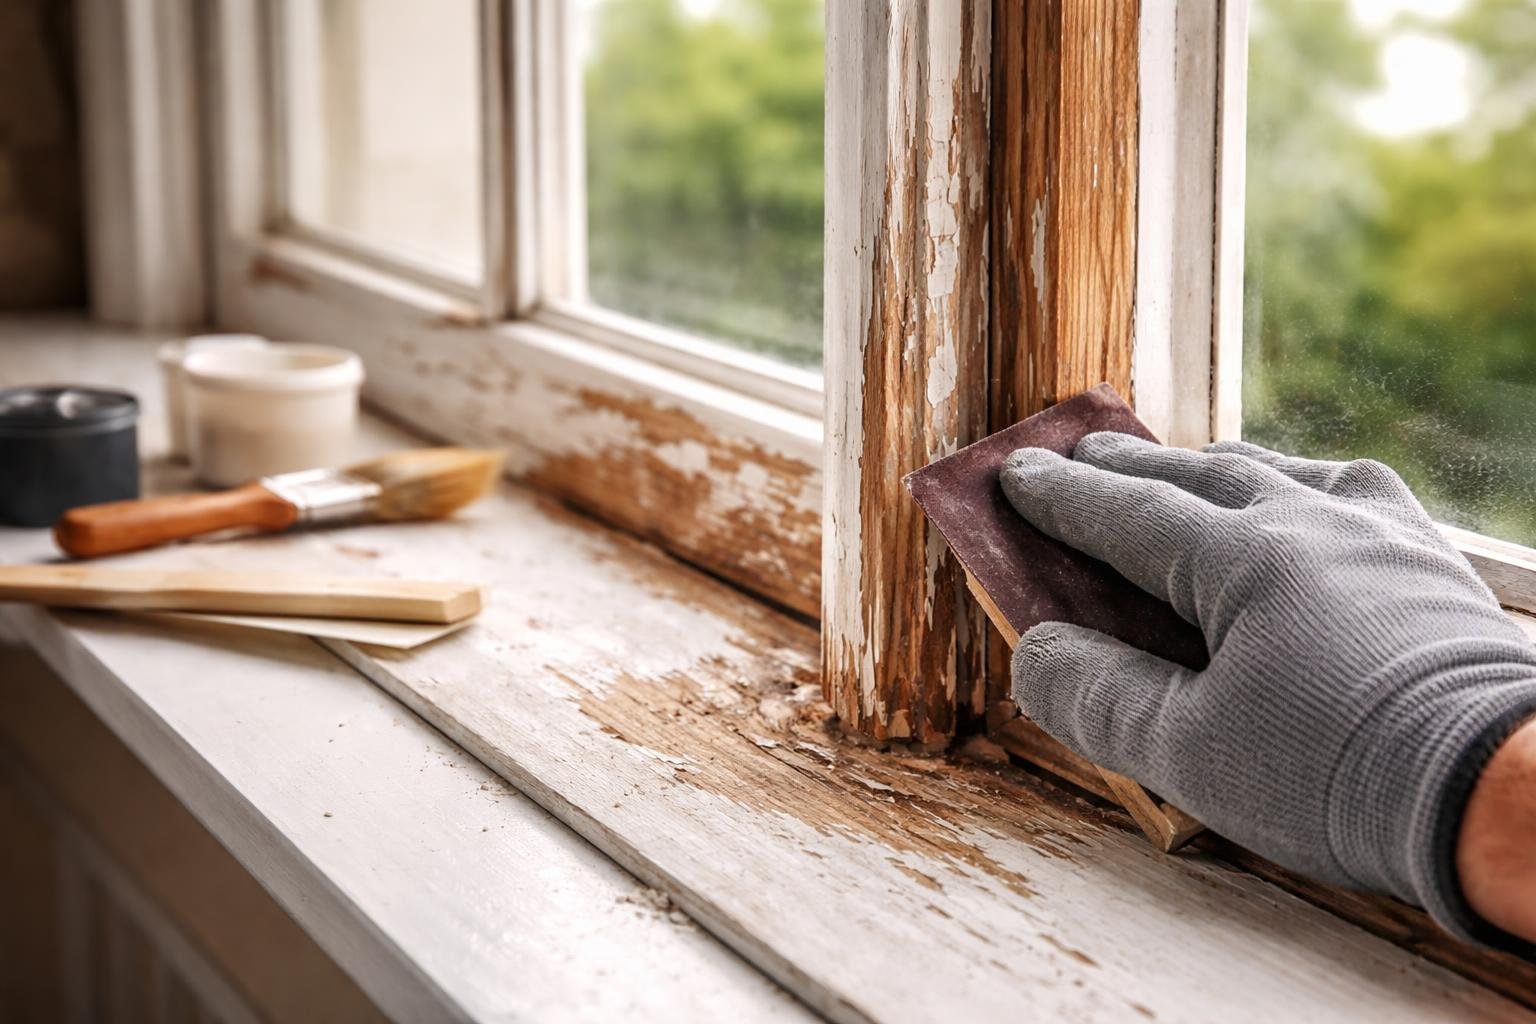
Quality paintwork shields timber from dampness and decay. Prepare surfaces by lightly sanding the frame before you apply fresh paint.
Choose high-grade exterior paint designed for woodwork. Multiple thin layers provide better protection than one thick coat.
Keep paint off the sliding mechanisms. Excess paint causes windows to jam and stick.
Fill any openings or splits with flexible sealant to prevent water penetration and subsequent damage. Reapply paint every five to seven years to maintain wood condition.
Water-resistant treatments offer additional defence against moisture. Apply these products to wooden frames for enhanced durability.
Trickle vents can be fitted during maintenance work to improve airflow whilst preserving the window’s traditional appearance.
Strengthening Window Safety Features
Fit robust locks to your sash windows. Quality locking mechanisms deter unwanted entry and improve household security.
Sash restrictors allow controlled ventilation whilst maintaining security. These devices permit partial opening without compromising safety.
Upgrade to reinforced glazing options such as toughened or laminated glass. Modern glass types enhance both security and occupant protection.
Install sash chains to limit opening distance. These prevent excessive movement and provide crucial child safety benefits.
Secondary glazing systems deliver dual benefits of increased security and better thermal performance. Test all security fixtures regularly and replace worn components without delay.
Effective Repair Methods for Sash Windows
Addressing Timber Rot and Deterioration
You’ll need to tackle timber rot as soon as you spot it on your sash windows. Check the frames and sashes for areas that feel soft or show signs of decay. Use a chisel or router to cut away any damaged sections completely.
Once you’ve removed the rotten wood, apply a timber hardener to strengthen what remains. Fill the resulting gaps with epoxy-based wood filler, then shape it to match the window’s original design. For larger areas of damage, you may need to splice in fresh timber sections.
Key Steps for Timber Repair:
- Select matching wood species
- Join sections using waterproof adhesive
- Sand all repaired surfaces until smooth
- Apply primer before painting
Preventative care keeps decay at bay. Clean your windows annually and repaint every three to five years. Always use high-quality exterior paint on all timber surfaces, including those areas you cannot easily see.
Enhancing Energy Performance
Your draughty windows drive up heating costs unnecessarily. Fit weatherstripping around moving parts to seal air gaps. Brush seals work well along the sides and where the sashes meet. V-strip or spring metal weatherstripping suits the channels perfectly.
Consider upgrading from single to double-glazed units. Slim double glazing maintains the traditional appearance whilst fitting your existing frames. Alternatively, secondary glazing adds an interior pane without altering the original window.
| Solution | Benefit | Suitability |
|---|---|---|
| Weatherstripping | Reduces draughts | All sash windows |
| Double glazing | Improves insulation | Most frames |
| Secondary glazing | Adds thermal layer | Listed properties |
Replace failing putty around glass panes using linseed oil putty for period windows. Let it form a skin before you paint over it.
Renewing Operation Through Cord Renewal
Broken sash cords prevent proper window function. You’ll encounter this common issue requiring replacement sash windows components. Start by removing the staff bead, then take out the lower sash. Extract the old broken sash cord and weights, thread new cords through the pulleys, and attach them securely to both weights and sash.
Waxed cotton cord offers excellent durability. Set the cord length so weights rest just above the sill when closed. Apply dry lubricant to pulleys and clear debris from channels before reassembly.
Improving Function and Appearance
Stopping Draughts and Adding Insulation
Poor insulation causes heat loss and high energy bills. You can fix this by adding draught proofing to key areas of your sash windows.
Brush strips fit along the staff bead and parting bead to seal gaps. These stop cold air from entering without changing how your windows look. The meeting rail also needs attention, as this is where the two sashes connect.
Slimline double glazing improves insulation whilst keeping the original appearance. This upgrade lowers your U-value, which measures heat transfer. Secondary glazing adds another layer of glass inside the window frame. It creates an air gap that traps warmth and cuts energy costs.
Proper ventilation still matters even with these upgrades. You need some airflow to prevent condensation and maintain healthy air quality inside your home.
Cutting Down on Sound and Sealing Gaps
Traffic and street noise enter through small openings around your windows. Applying sealant blocks these entry points and creates a quieter indoor space.
Use silicone-based products for minor cracks and gaps. These materials remain flexible and handle temperature changes well. Larger openings need different solutions that fill the space completely.
Rubber gaskets around both sashes create a tight seal when closed. This stops sound waves from passing through and reduces outside noise levels.
Maintaining Character Whilst Updating Features
You can modernise your windows without losing their period charm. Fresh paint protects the timber and brightens the overall look.
New sash cords restore smooth operation. This simple fix makes opening and closing easier whilst keeping the traditional mechanism intact.
Keep original details like glazing bars and decorative hardware. These elements define the window’s character and add value to your property.
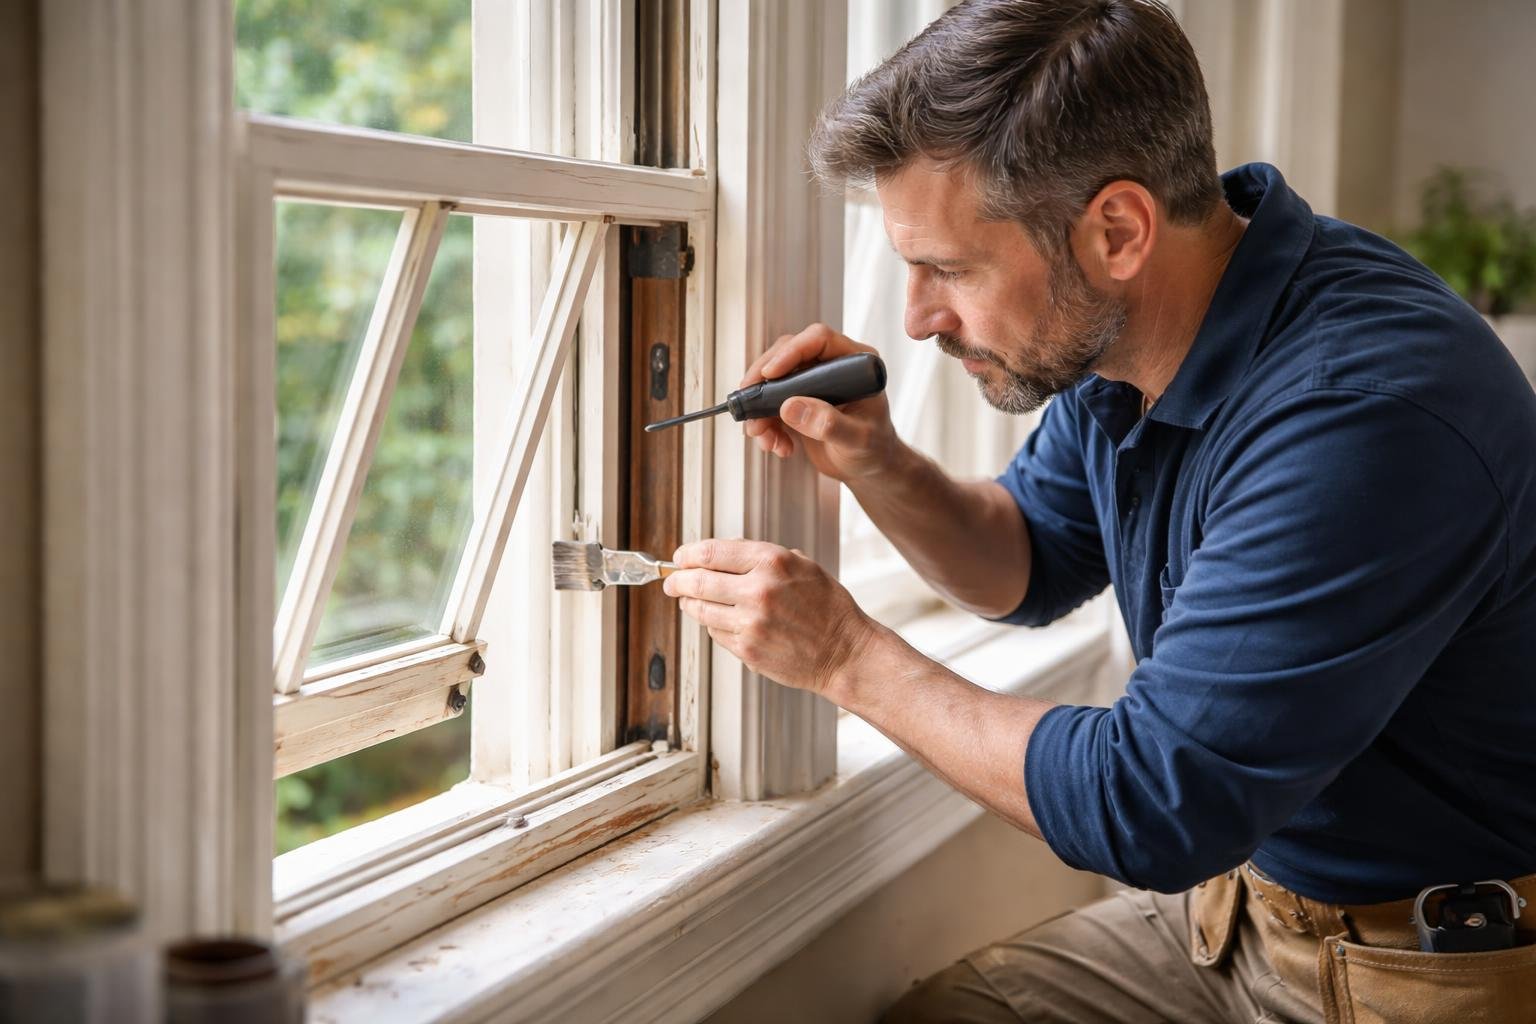
Selecting the Right Provider for Sash Window Repairs
Finding a qualified sash window repair specialist requires careful consideration. You should start by examining a company’s track record with traditional window systems.
Look for providers who offer comprehensive solutions. A reliable sash window installer will evaluate whether repairs or full replacement makes more financial sense for your specific situation. They should explain the benefits of each option clearly.
Material quality matters significantly. Ask what materials the company uses for repairs. High-quality components ensure your windows perform well for years to come.
Consider additional services like draught-proofing or energy-efficient glazing. These upgrades can reduce your heating costs whilst maintaining the original appearance of your windows.
Request multiple quotes before making a decision. The lowest price rarely guarantees the best results. Focus on value rather than just cost.
Check for guarantees on workmanship. A reputable company will stand behind their repairs with proper warranties. This demonstrates confidence in their skills and protects your investment.
Read customer reviews and request references. Previous clients can provide honest feedback about reliability and service standards.
Verify that any sash window repairs provider carries adequate insurance and proper licensing. This protects you from liability during the work.
Issues with Your Sash Windows?
If you notice sticking frames, draughts, or damaged components, professional assessment is essential. Early intervention prevents minor problems from becoming costly repairs.
Common Questions About Sash Window Issues
What causes sash windows to stick and what are the solutions?
Sash windows stick when paint builds up along the tracks or frame edges. This happens after multiple painting jobs over the years. The layers create a thick barrier that stops the window from moving freely.
You can fix this by carefully cutting through the paint layers with a utility knife. Run the blade along the edges where the sash meets the frame. After breaking the paint seal, sand down the excess paint from the channels and the window edges.
Swollen wood also causes sticking, especially during humid weather. The timber absorbs moisture and expands. You need to plane down the swollen areas once the wood dries out. Apply a wood sealant afterwards to prevent future moisture problems.
Dirt and debris in the tracks will jam the window mechanism. Clean the channels thoroughly with a brush and vacuum. Wipe them down with a damp cloth and let them dry completely before applying a small amount of wax or silicone spray.
What signs indicate your sash windows need attention?
Visible gaps around the window frame mean the seals have deteriorated. You will notice cold air coming through on windy days. These draughts also let in dust and moisture.
Rattling sounds when the window is closed show that parts have become loose. The sash should fit snugly in the frame without moving about. Rattling indicates worn catches or loose joints.
Key warning signs include:
- Difficulty opening or closing the window
- Peeling or cracked paint on the frame
- Soft or discoloured wood
- Condensation between glass panes
- Windows that will not stay open
- Broken or frayed cords
Soft spots in the wood signal rot. Press your finger against the timber in corners and along the sill. Healthy wood feels firm whilst rotten wood feels spongy.
Water stains on the wall near the window show leaks. Check the putty around the glass panes and the joints in the frame.
How can you stop draughts coming through sash windows?
Draughtproofing strips provide an effective barrier against air leaks. Install these along the meeting rails where the top and bottom sashes meet. Apply them to the vertical edges and along the bottom of the lower sash as well.
Check the staff beads and parting beads for gaps. These wooden strips hold the sashes in place. Remove them, clean the channels, and refit them properly with small pins. Fill any gaps with wood filler before repainting.
The putty around glass panes cracks and falls out over time. This creates small air gaps. Remove old putty with a chisel and apply fresh glazing compound. Smooth it with a putty knife and let it cure before painting.
Brush strips work well for the sides of sashes. These have small bristles that seal gaps whilst allowing the window to slide. Fit them into routed grooves along the vertical edges of the frame.
What methods work best for improving sash window insulation?
Secondary glazing adds an extra pane of glass on the room side of your window. This creates an air gap that reduces heat loss. You can fit it yourself using magnetic strips or hinged frames.
Replacing single glazing with slim double glazed units dramatically improves thermal performance. Modern units fit into traditional frames whilst maintaining the original appearance. These units must be thin enough to work with the existing sash weights.
Heavy curtains or thermal blinds provide additional insulation during cold nights. Fit them close to the window frame to trap air. Pull them across before sunset to retain heat.
Insulation improvements ranked by effectiveness:
| Method | Heat Loss Reduction | Installation Difficulty |
|---|---|---|
| Slim double glazing | High | Professional required |
| Secondary glazing | Medium to high | Moderate DIY |
| Draughtproofing | Medium | Easy DIY |
| Thermal curtains | Low to medium | Easy DIY |
Ensure the window box is properly insulated. Remove the interior panel and check for gaps around the weight mechanism. Fill voids with insulation material but keep the weights and pulleys accessible.
What problems occur with sash window cords?
Sash cords break after years of friction and wear. The window becomes heavy to lift or will not stay open when the cord snaps. You will hear the weight drop inside the box when this happens.
Modern synthetic cords last longer than traditional cotton rope. They resist fraying and do not rot when exposed to moisture. Replace all cords at the same time even if only one has broken.
Steps for cord replacement:
- Remove the staff beads carefully to access the sash
- Take out the lower sash and untie the old cords
- Remove the pocket cover to reach the weights
- Thread new cord over the pulleys
- Attach the cord to the weights and sash
- Test the window operation before refitting beads
Pulleys seize up when they become clogged with paint or dirt. This puts extra strain on the cords and causes premature failure. Clean and oil the pulleys when replacing cords.
Incorrectly balanced weights make the window difficult to use. Each weight should be slightly lighter than half the sash weight. This allows smooth operation whilst keeping the window where you position it.
How should you care for painted surfaces on sash windows to avoid problems?
Prepare surfaces thoroughly before painting. Remove loose or flaking paint with a scraper. Sand the wood smooth and wipe away dust. Apply a suitable primer to bare wood before the topcoat.
Use exterior grade paint designed for timber windows. Gloss paint provides a durable, water resistant finish. Apply thin coats rather than one thick layer. This prevents drips and ensures even coverage.
Paint in dry conditions when temperatures stay above 10°C. Moisture and cold prevent proper drying and curing. Avoid painting in direct sunlight as this causes the paint to dry too quickly and crack.
Maintenance schedule:
- Inspect paintwork twice yearly
- Touch up minor chips immediately
- Repaint every 4-6 years depending on exposure
- Clean frames with mild detergent annually
Keep paint off the glass by using masking tape along the edges. Remove the tape before the paint fully dries. This prevents the tape from pulling off the new paint.
Never paint windows shut. Move the sashes whilst the paint is still slightly tacky to prevent them sticking. Open and close them fully after 24 hours to ensure they operate freely.
Require Assistance with Repairs?
Contact us now on 01606 333943
Mobile: 07789 598238
Email: info@victoriansash.net